Trip Overview
The seven-day Lemosho Route climb approaches Mount Kilimanjaro from the western side and is known for its varied landscapes and wide mountain views. The trek begins in forest before opening into heath, moorland and the broad Shira Plateau. As the route gains height, the scenery changes to rocky ridges, alpine desert and the dramatic upper mountain. Each day combines guided walking, planned rest stops and time to settle into camp, while the mountain crew manages the practical arrangements described in your booking. The itinerary is designed around a gradual progression toward the summit, although altitude affects each person differently and success cannot be guaranteed. Trekkers should arrive prepared for cold nights, changing weather, uneven paths and long walking days. A guide will set a suitable pace and monitor how the group is feeling. This route offers a memorable cross-section of Kilimanjaro’s environments and is best enjoyed with proper preparation, hydration, suitable clothing and a willingness to follow safety guidance throughout the climb.
Your Day-by-Day Itinerary
Day 1
Londorossi Gate to Mti Mkubwa Camp
Travel to Londorossi Gate for park registration and the route briefing, then continue to the trailhead as road and weather conditions allow. Begin trekking through lush montane forest, where the trail can be damp and uneven and the pace should remain comfortable. Your guide will set breaks and check that everyone is drinking enough water. Reach Mti Mkubwa Camp, settle in with the mountain crew and enjoy dinner before resting for the next day.
Day 2
Mti Mkubwa Camp to Shira 1 Camp
Leave the dense forest as the path rises into heath and moorland, with vegetation becoming shorter and the views opening across the western side of Kilimanjaro. The trail includes uneven ground and steady uphill sections, so use a relaxed pace and follow the guide’s advice. Weather can change quickly on the plateau, making layers and rain protection useful. Arrive at Shira 1 Camp, drink water, eat well and take time to rest.
Day 3
Shira 1 Camp to Shira 2 Camp
Continue across the Shira Plateau, a broad high-altitude landscape with volcanic terrain and views toward the mountain when clouds permit. Although the trail may appear gentler than the forest ascent, the altitude can make walking feel harder, so keep the pace slow and take regular breaks. Your guide will monitor how the group is adjusting and may adapt the schedule if needed. Reach Shira 2 Camp, enjoy the evening meal and prepare warm clothing for the cooler night.
Day 4
Shira 2 Camp to Barranco Camp via Lava Tower
Walk toward the Lava Tower area, gaining altitude over rocky ground before descending to Barranco Camp as planned in the acclimatization profile. Spending time higher before sleeping lower is a key feature of this stage, but it does not eliminate altitude risk. Follow your guide’s pace, drink water often and report any headache, nausea or unusual weakness. The landscape becomes more alpine and exposed, so use sun protection and keep warm layers close. Arrive at Barranco Camp for dinner and rest.
Day 5
Barranco Camp to Karanga Camp
Start the day by climbing the Barranco Wall with careful steps and guidance from your crew; some sections require using your hands for balance, but the guide will show the safest line. From the top, continue across ridges and valleys toward Karanga Camp. The trail can be tiring at altitude, so avoid rushing and take breaks as directed. At camp, eat, hydrate and review the next day’s route with the guide before getting a good night’s sleep.
Day 6
Karanga Camp to Barafu Camp
Climb steadily through increasingly rocky alpine terrain toward Barafu Camp, the base for the summit attempt. The scenery is sparse and exposed, and wind or cold can make the conditions feel severe. On arrival, have an early meal, refill water according to the crew’s guidance and organize headlamp, gloves, insulated layers and any personal items. The guide will explain the summit departure time, expected pace and turnaround procedure. Rest even if sleeping is difficult at altitude.
Day 7
Barafu Camp to Uhuru Peak and descent
Begin the summit attempt during the night, moving slowly over steep, cold scree toward Stella Point and then to Uhuru Peak if your condition and the weather allow. The summit is not guaranteed, and the guide may decide that descending is safest. After the summit attempt, return to Barafu Camp for a short rest and continue down to the scheduled lower camp. The descent is long and requires concentration, so follow the guide and drink regularly.
$0
/ Adult
Need help? Contact us →
Explore More Adventures
Discover other amazing trips in the region
- 8% OFF 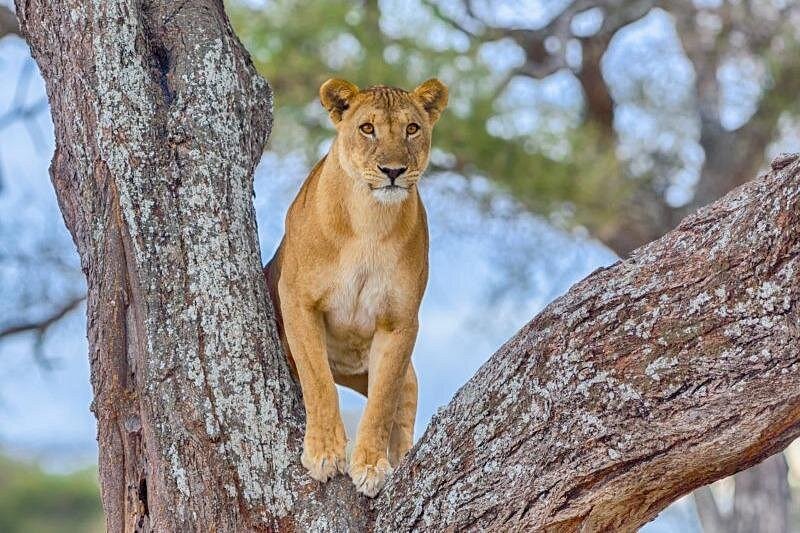
2 Days Tarangire & Lake Manyara Wildlife Tour
$718 / person
Book
Kilimanjaro 9 Days Northern Circuit Route Climb
$0 / person
Book
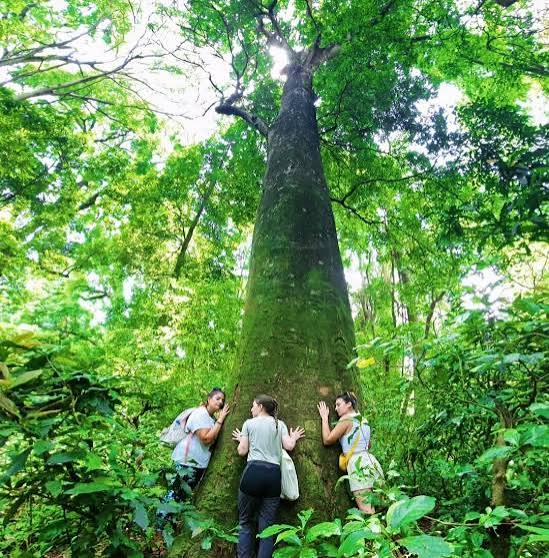
Rau Forest Guided Nature Walk in Moshi, Tanzania
$50 / person
Book